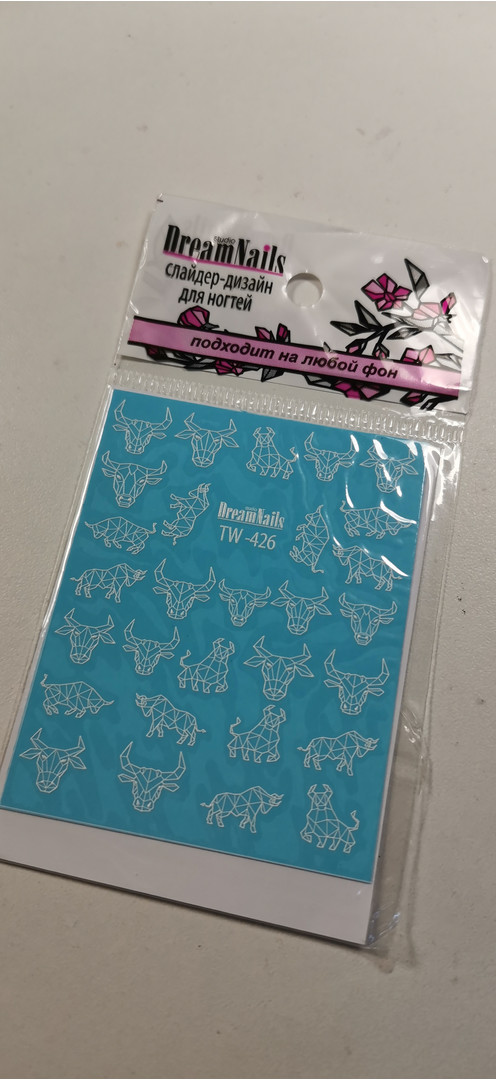
C slider design is a fairly easy way to apply complex photographic patterns on nails. Slider design is a thin elastic film with an image applied to paper (paper for easy storage and transportation).
This way of decorating nails is very simple, but the effect is unique. Thanks to the huge variety of colors and patterns, using the slider design, you can create a variety of nail art without much difficulty. When properly applied, this design is quite durable.
Technology for applying slider designs:
- Apply a base coat to the prepared nail plate. Dry in a lamp.
- We apply a color coating the required number of layers (preferably light shades). Dry in a lamp.
- We apply a thin layer of top with a sticky layer on the color, dry it, do not remove the sticky layer.
- Cut out the desired pattern from the kit. We try to leave as much transparent film as possible around the perimeter (we don’t cut it butt to the object), this is done so that there was a larger adhesion area with the nail plate.
- We lower it into warm water for 5-10 seconds, the film will become mobile. Wet excess moisture with a napkin so that there is no moisture on the film. Gently shift the image from the paper base.
- We spread the image on the sticky layer of the top, place it in the desired position. Smooth out any irregularities with a napkin, and gently press down.
- If there is excess film left, it can be removed with scissors, and the excess at the free edge can be removed with a nail file.
- With a thin brush, we smear the top well around the object, as if creating bumpers. We dry.
- If this is a 3D stone (with a foil oval), then with a top, base , structural gel (which is thicker) we create a voluminous drop on the foil part, dry a little longer than usual.
- We cover the top layer thinly already completely over the entire nail and dry it again, if the top has a sticky layer, remove the sticky layer with a clinser .
- With proper observance of all technology, the slider design will hold tight for up to 3-4 weeks.


")
")
")
")